

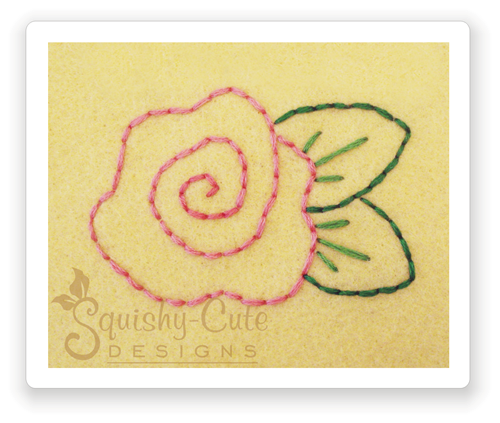
How To Transfer Designs Onto Felt
![]()
![]()
![]()
![]()
![]()
Transfer Methods For Felt
This tutorial will show you how to transfer designs onto felt. Since felt is opaque, some of the more common transfer methods, like using a light box or tracing on a window, obviously will not work on felt. And because felt is fuzzy, we found that carbon paper and iron-on transfer PENCILS, also did NOT work on felt. So to help you get your designs transferred onto felt, we created this guide.
Transfer Method #1:
Stitching Through Paper (our favorite method)
Click here to download the PDF version of these instructions
Just in case you’re curious, our favorite transfer method for felt is this “stitching through paper” method. We like using wax paper, but you could also use tissue paper, or tear-away stabilizer. Any transparent paper would probably work as long as it was also easy to tear away. This transfer method does not require a mirror/reverse image of the design and there will be no transfer ink marks on the felt.
How To Do This Method:
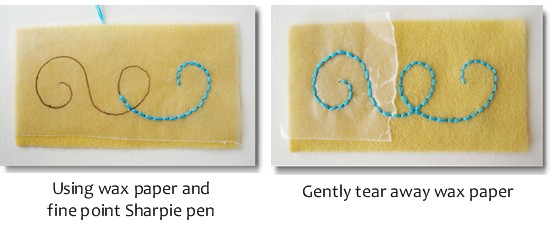
- Trace the design onto wax paper, tissue paper, tear-away stabilizer, or any other easy to tear tracing paper. See photos below for a few suggestions on what kind of pens to use with which paper.
- Pin or baste the paper in place on your felt.
- Now simply begin stitching along the lines through the paper and felt.
- After you have finished stitching the design, carefully tear the paper away from your stitches.
- For any tiny, hard to remove pieces of paper, you can gently pull them out of your stitches with tweezers.

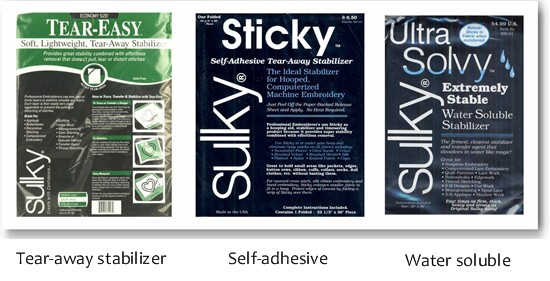
The tear-away stabilizer works the same way as the wax paper and tissue paper shown above. The only difference is that it seems to be a little harder to tear away than tissue or wax paper and it is also more expensive than the other two. But some stabilizers have a few advantages over other types of paper. If you don’t like to pin or baste your paper in place, you could use the self-adhesive stabilizer. They also have a water soluble stabilizer for easy removal from around your stitches. So if you like any of these features, then a special tear-away stabilizer might be worth the extra cost. Below are a few photos of some possible products.
Transfer Method #2:
Iron-On Transfer Pen
Click here to download the PDF version of these instructions
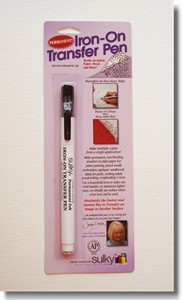
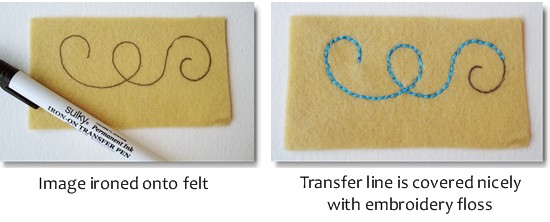
Just so you don’t confuse the two, this method is for using a transfer pen (NOT pencil). Iron-on transfer pencils do NOT work on felt. But we found that the Sulky brand Iron-On Transfer PEN did work quite well on felt. If you use these pens, you will need different colored pens for light and dark felt and there will be permanent transfer ink marks on the felt. But as you will see below, your stitches should be enough to cover up the transfer marks. Also for this method, you will need a mirror/reverse image of your design.
How To Do This Method:
- One caution: When using these pens, be sure to press lightly. Otherwise, you’ll get a thick line that might not get completely covered with the embroidery floss.
- Of course the pen will come with instructions, but the basic idea is to start by printing out the mirror/reverse image of the design on regular printer paper.
- Trace over the design with the transfer pen right on the printer paper. Remember to press lightly to create a thin line.
- Place the paper, ink side down, on your felt and iron it on according to the pen’s instructions.
- The design is now on the felt and ready for you to begin stitching. The photos below show how this method looks.
Transfer Method #3:
Iron-On Transfer Paper For Inkjet Printers
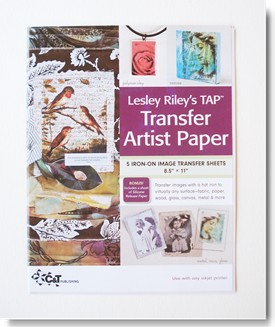
This method is NOT for transferring a basic embroidery design that consists of just lines. Instead, this method is for transferring colored pictures and images onto your felt. The paper works by transferring a film of plastic onto the felt. This film will then leave your felt surface feeling kind of plastic-like. So if you just want to transfer a basic embroidery design onto felt, don’t use this method. Instead, use either method #1 or #2. But, if you do want to transfer colorful pictures onto felt, try this iron-on transfer paper!
How To Do This Method:
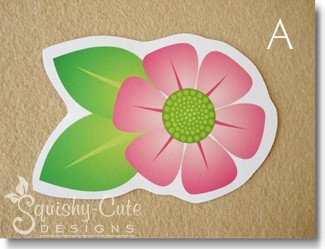
- The transfer paper will of course come with instructions, but the basic idea is to print your colored picture (the mirror image) onto this special paper using your inkjet printer.
- Cut around your picture, leaving at least 1/4″ – 3/8″ border. See photo A.
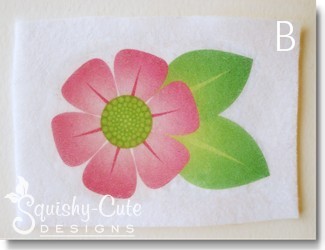
- Place the cut out image face down on the felt. White or light colored felt is recommended.
- Iron it on according to the package instructions.
- Quickly and carefully peel off the paper. Your printed image has now been transferred to the felt. See photo B.

- Your transferred picture is now ready to be embellished with embroidery stitches, beads, sequins, and/or buttons. See photo C.
- You can now cut out this embellished image and use it in any number of different projects. It could be used as an ornament, used as an applique patch, turned into a magnet, used as a brooch, used in scrapbooking and much much more!
Return to Helpful Hints from Transfer Methods for Felt
Return to Home Page