

Teacup Crafts
Cute Teacup Daffodils For Any Springtime Occasion!
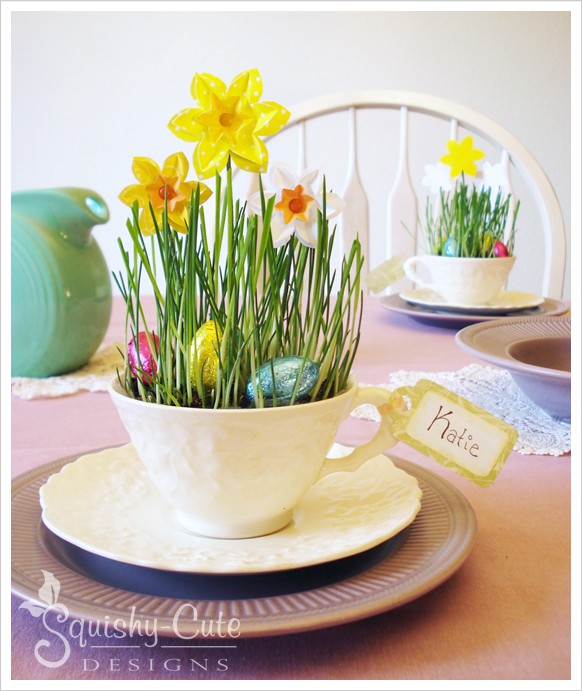
Teacups make such cute decorations, so what could be better for springtime than teacup crafts? Simply buy some teacups at a second-hand or discount store, and turn them into these adorable springtime place cards, or group them together for a lovely spring centerpiece.
This idea would be great to make for any number of occasions, like your Easter dinner table, a springtime wedding, or a spring party!
Growing real spring grass is quite fun, and can also be an easy project for kids to try. And the cute little paper daffodils “growing” out of the grass are a fun scrapbooking project for all ages. Also each paper daffodil could be used as a cupcake topper for springtime cupcakes.
So why not serve a “cup of cuteness” to each of your guests this spring? They really add a festive touch to your springtime decor.
![]()
![]()

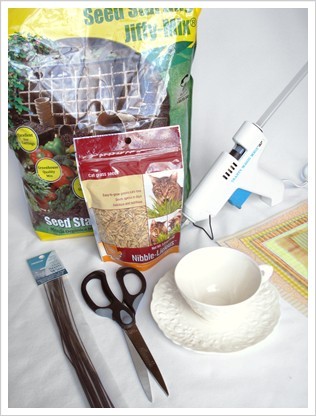
- Teacups
- Potting soil
- Grass seeds (we used cat grass seeds from a pet store)
- Drainage material (sand, gravel, styrofoam)
- Cling wrap
- Mister/spray bottle
- Floral wire and wire cutters
- Hot glue gun
- Regular weight scrapbooking paper (yellow, white and orange)
- Small brads (yellow and orange)
- Scissors
- Daffodil and name tag template
![]()

Important Note: This project takes about two weeks to complete.

Before you begin, you may want to consider lining your teacups with cling wrap to help prevent the soil from staining the teacup. On that note, you may also want to buy your teacups at a second-hand or discount store rather than using a good set you own, because even with a lining, they may be stained by the soil.
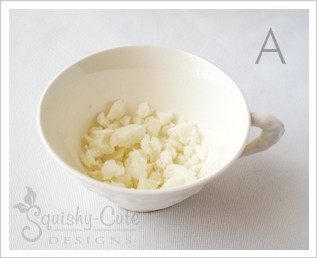
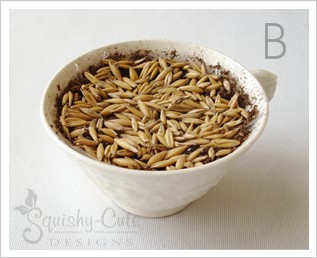
Once the teacups are lined, put in the drainage material. Put about 1/2″ to 1″ deep. See photo A. Then proceed to place soil in your teacup. Don’t fill it too full yet. Cover the soil with a layer of your grass seeds. See photo B. You may even want the soil level to be a little lower than how we’ve shown it in photo B, as the grass tends to push the dirt up as it grows. Of course, then cover the seeds with another layer of soil. Make sure the soil is very moist.
![]()
Be sure to follow the growing instructions on the package of seeds. They should say how important it is to keep the soil/seeds moist. We find it is best to use the spray bottle to water the seeds so they become moist but not flooded due to the lack of drainage holes.
![]()

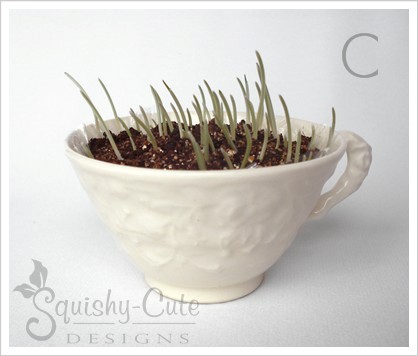
You will probably have to wait about 2 weeks before the grass is tall enough and more importantly, thick enough, to use. Photo C shows the grass at 1 week. The grass tends to grow quickly once it is up, but the second week is needed for other blades to fill in and make the grass thicker. You will probably have to trim the grass once or twice so it is not ridiculously high! Also be sure to rotate the teacup occasionally, so the grass doesn’t start to lean heavily toward the light.
![]()

While you are waiting for your grass to be ready, you can make the paper daffodils. Start by printing out the Daffodil and name tag template. We have provided the patterns for two different sizes of daffodils, marked by “1” and “2” so you know which pieces go together.
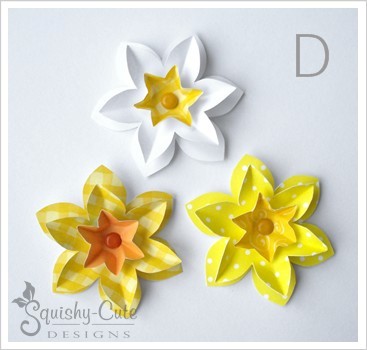
Trace the patterns onto various colors of scrapbooking paper and cut them out. The largest daffodil shape in each set is to remain flat. Then the smaller shape is to have each of the petals creased down the center. The smallest “trumpet” portion is to be folded in and out around the center to create a trumpet look. Then place the trumpet in the center of the creased flower, and that flower on the flat one, and secure them together with a brad through the center. See photo D for some examples.
![]()

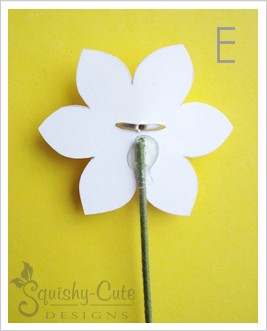
Cut your floral wire into shorter pieces for each daffodil. Be sure to measure about how high you want the daffodils to stand out of the grass before you make your cuts. Then place a dab of hot glue on the back of each daffodil and place the end of a piece of wire into the glue. See photo E.
You may also want to cut out a second copy of the larger daffodil shape in each size to glue to the back of each daffodil. This way the back of the brad and the glue as you see in photo E will be covered up when viewing the backs of the daffodils.

If you will be using these teacups as place cards, be sure to use the name tag template to create a tag that can be hole-punched and tied onto the handle of each teacup with a small piece of ribbon.
![]()

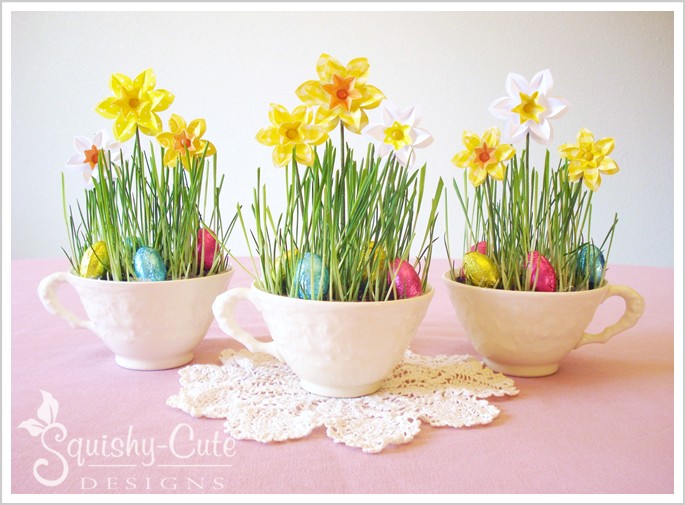
Now once your grass is ready, all that is left is to stick the daffodils into each teacup and perhaps fill in the grass with some chocolate eggs! Place these at each guest’s spot, or use them to create a darling centerpiece for your table!
![]()
Ta Da!!
![]()
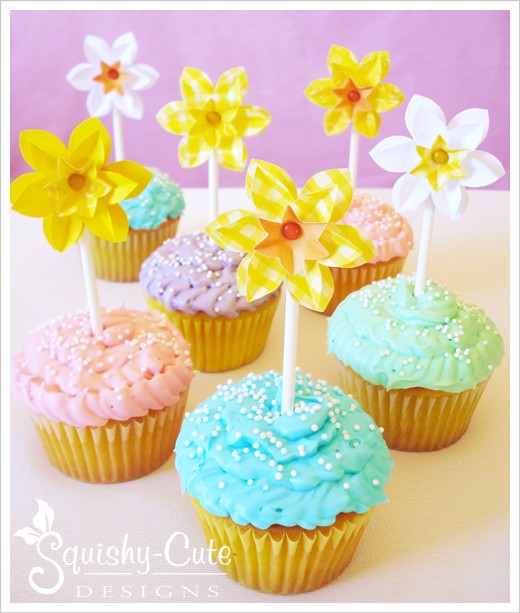
Or use the daffodils as cupcake toppers!

![]()
Another use for this paper daffodil idea would be as a darling cupcake topper for your Easter cupcakes. Just tape or glue a lollipop stick, popsicle stick, toothpick or straw to the back of each daffodil. Then place a daffodil in the center of each cupcake (or several daffodils if you would like) and your cupcakes are turned into cute Easter treats!
![]()
![]()
You may also like….
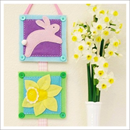
Easter Wall Hanging
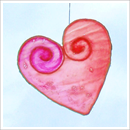
Heart Suncatchers

Teacup Bird Feeder
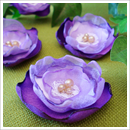
Fabric Flowers
![]()
So if you are looking for a festive springtime decorating project, we hope that this teacup craft gave you some ideas to try. This idea would make a perfect table centerpiece for Easter or for a spring birthday party or baby shower. And for all you spring brides, this idea could be a darling project to do for your wedding as a centerpiece, as wedding guest favors, or even to be used at your bridal shower.
This idea would also work with other types of containers, like decorative tins, glass jars, bowls, or of course, flower pots. Thanks so much for stopping by, and happy crafting everyone.
For more free craft projects, be sure to check out the ideas shown in the images above.
![]()
![]()