

Free Sewing Projects: Photo Album
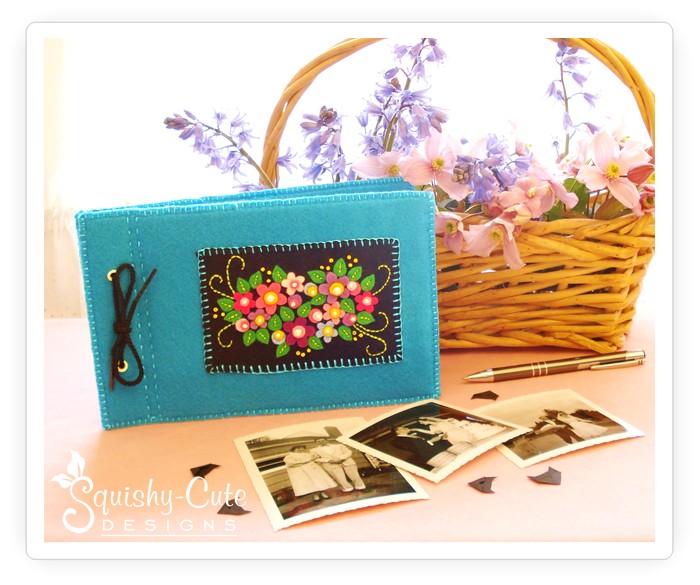
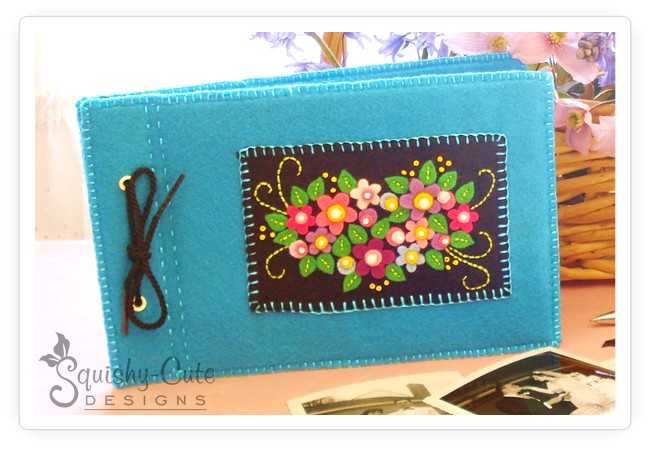
Hi everyone! Here is a sewing project that I wanted to share with all of you. It’s a felt photo album that I made for my mom for Mother’s Day. I chose turquoise because it’s her favorite color and I paired it with black because I love how these two colors really seem to pop! The flower design was inspired by the million bells in my garden. And because my mom and I both love this cute little ground cover, I knew it would make a cute cover for her photo album. Well, I hope you like it and maybe you will want to make one for yourself!

![]()
![]()
![]()
![]()
![]()

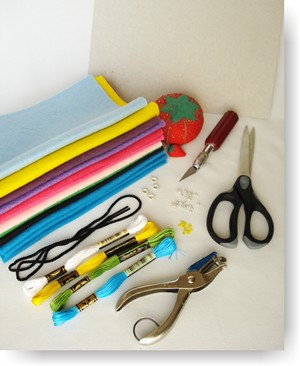
- Felt: turquoise (4 sheets), black, green, pink (3-4 shades), purple (2 shades), blue, yellow
- Embroidery thread: turquoise, green, white, yellow
- 3 Pearl beads (3/16″ wide)
- 13 Small pearl beads (1/8″ wide)
- 18 Yellow seed beads
- 4 Eyelets
- Cardboard
- Scissors
- Needles (regular & thin bead needle)
- Black cord or ribbon
- Paper hole punch
- X-acto knife
- Cardstock paper (10 or more sheets)
- Photo album template
![]()


Begin by printing out the photo album template. Cut out four of the rectangular turquoise pieces, and one of the rectangular black pieces. Then cut out as many flowers and leaves as you would like, in your preferred colors. We used 3 large flowers, 6 small flowers, 7 circle flowers and 20 leaves. Any amount will work, so just use what looks good to you. The circle found on the template is to be used for the circles in the large flowers as well as the circle flowers themselves. We then used a paper hole punch to make the centers to the smaller flowers and the centers to the circle flowers.
![]()

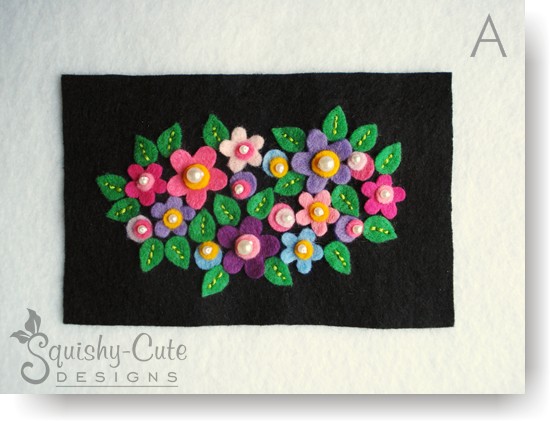
Lay out your flowers on the black felt in the design that you like. Each flower is sewn on with just a pearl bead at the center using white embroidery thread. Use the larger beads for the large flowers and the smaller beads for the small flowers. No other stitching is needed for the flowers. It is really quite quick and easy to get the flowers sewn into place.
Then stitch the leaves down using the backstitch down the center. See photo A.
![]()

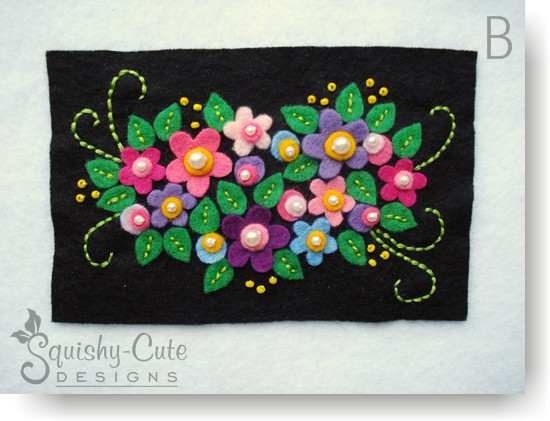
Now add several swirly vines around the flowers using the backstitch. Then add clusters of 3 seed beads around the flowers. See photo B. Now this piece of the album is complete.
![]()

Place the black rectangle on one of the turquoise pieces of felt, centered off to the right side (see photo C). Secure this piece in place with the blanket stitch around the edge, using the turquoise embroidery thread.
On the left side of this turquoise piece, make 2 small holes in the felt using the X-acto knife. The holes should be 3/4″ in from the edge, and 1-3/4″ up from the bottom/down from the top. Then secure an eyelet through each of these holes. See photo C. Repeat this on a second sheet of turquoise felt, only on the right side. This will be the back of the photo album.
![]()

You also need to make holes in the same places on the remaining 2 sheets of turquoise felt, however since these 2 sheets will be on the inside of the album, you don’t need to put eyelets through the holes. The eyelets are really just for looks.
![]()

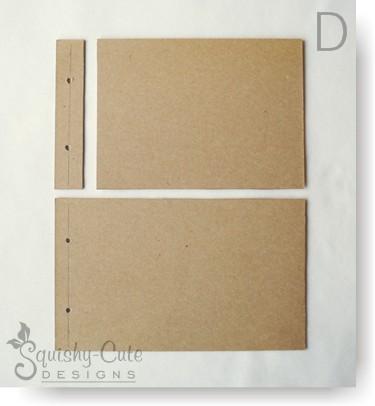
Using the cardboard template, cut out your 3 pieces of cardboard. On the small cardboard front piece, draw a line that is right down the center (1/2″ in on either side). Then make a mark on that line that is 1-1/2″ up from the bottom, and one that is 1-1/2″ down from the top. Then cut a small round hole on each of these marks using the X-acto knife.
On the cardboard back piece, draw a line down the left side, that is 1/2″ in from the edge. Again, measure 1-1/2″ up from the bottom and make a mark on the line and 1-1/2″ down from the top and make a mark on the line. Then cut a small round hole on these marks as well. See photo D.

You will now begin putting all these pieces together, starting with the front cover. Place the decorative turquoise piece with the flowers on top of a second piece of turquoise felt that has holes but no eyelets. Be sure that you have the holes on the same side and they line up. With your turquoise embroidery thread, begin sewing the blanket stitch on the side of the upper left hand corner. You will sew down the left side, across the bottom and up the other side, leaving the top open (don’t knot the thread off yet!).
Note: When doing the blanket stitch, it is important to only sew in about a 1/4″. Otherwise your “pocket” will be too small for the cardboard to fit into.
While the top of the felt is left open, take the larger cardboard front piece and slide it into the pocket of felt. Make sure it is as tight as possible over to the right side. Now continue sewing the blanket stitch across the top of the cardboard, making your stitches as close to the cardboard as possible. This helps keep the cardboard in place. While you still have some open space on the top, slide the second smaller cardboard front piece into the pocket. Be sure that the holes line up at this point! Then finish sewing close the remaining portion of felt and knot off your embroidery thread.
![]()
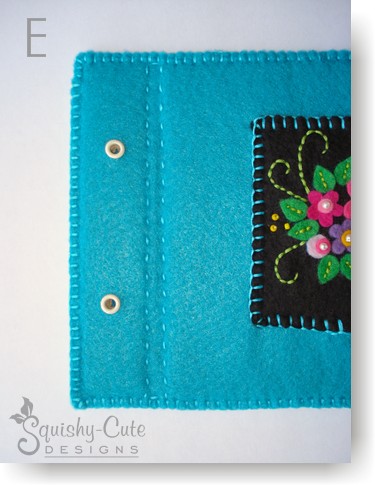

Now you will secure each piece of cardboard in their own pocket so they don’t end up moving around later. To do this, thread your needle with more turquoise embroidery thread and start at the top of the hinge. Use the running stitch to sew down the left side, as close to the cardboard as possible. Sew all the way down, across the gap, and then back up the right side, again as close to the cardboard as possible. Then make another stitch across the top gap and tie off your thread. See photo E.

Now repeat for the back cover, starting at step 6, only this time you only have the one piece of cardboard to worry about, so it should be easier. Again, be sure your holes line up!

To make the paper for the inside of the album, take your cardstock and cut pieces of paper that measure 5″ x 8-1/2″. You should be able to get 2 pieces per sheet. Then using the paper hole punch, punch two holes in each sheet to line up with the holes in the covers.
Then place the paper inside the covers, line up the holes, and thread your ribbon or cord through the holes. Tie a cute bow in the front and your album is now complete, and ready to add your photos to!
![]()
![]()
Return to Free Sewing Patterns from Free Sewing Projects: Album
Return to Home Page