

Free Applique Patterns: Frankenstein
![]()
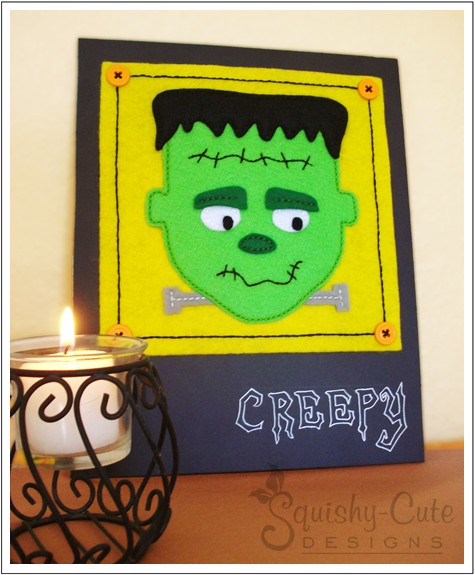
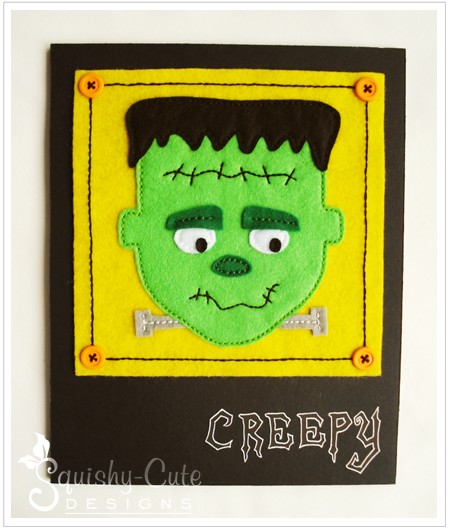
Do you feel like stitching up something creepy for Halloween? Something really really creepy? Then you just might like this applique pattern of Frankenstein (except for the fact that he’s really not all that creepy!). When I was designing him, he was supposed to be scary and creepy, but I actually think he turned out kind of cute… maybe you do too! Well anyway, this is a very easy sewing project and it would be great for just about anyone to try. We used the pattern to make a matted picture, but this applique pattern could also be used on many other things. You could applique him onto a shirt for kids, or even onto their trick or treat bags. And if you like to quilt, this pattern could also be used for a Halloween quilt or a decorative pillow. Hope you enjoy, and happy sewing!

![]()
![]()
![]()
![]()
![]()

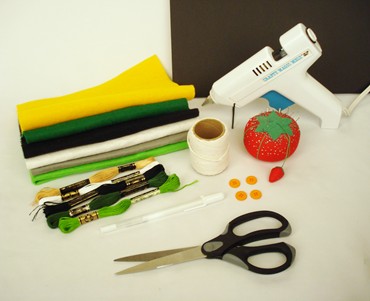
• Black board (8 x 10)
• Felt: yellow, light green, dark green, black, white, gray
• Embroidery thread: black, light green, dark green, white, gray
• 4 Orange buttons (size: 1/2″)
• Scissors
• Needle
• White gel pen
• Hot glue gun
• String or wire
• Frankenstein pattern
![]()


Print and cut out the Frankenstein pattern. Now trace and cut out the felt as follows:
• Head – light green
• Bolts – gray
• Eyes – white
• Pupils – black
• Eyebrows – dark green
• Nose – dark green
• Hair – black
• 7″ x 7″ background – yellow

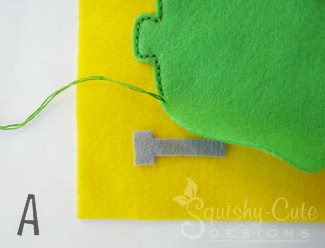
Sew the head onto the yellow background using the backstitch in light green thread. Be sure to lay the bolts under his chin before sewing the chin down. See photo A.
![]()
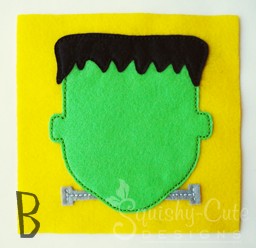

After his head has been sewn on, stitch the bolts down using the backstitch in gray thread. Next sew his hair on using the backstitch in black thread. See photo B.

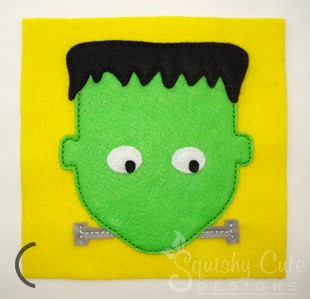
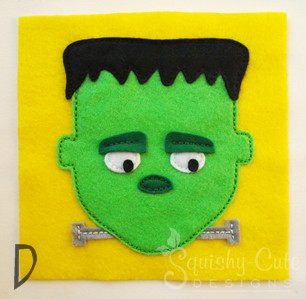
Now line up his eyes and sew them on, again using the backstitch in white thread. Next, stitch on the pupils with black thread. See photo C. Then sew on his eyebrows and nose with dark green thread. See photo D.

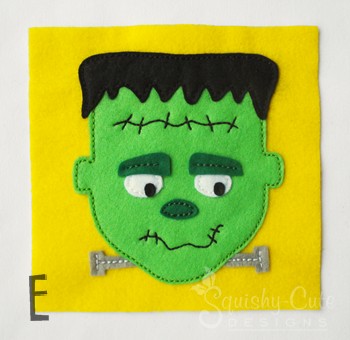
Using the pattern as a guide, stitch on his mouth using the backstitch in black thread. You might want to lightly draw his mouth on first with a pencil, or you could refer to our page on How To Transfer Designs Onto Felt for help with this step. Now do the same for the scar on his forehead. See photo E.
![]()

Stitch around the border using the backstitch in black thread. Then sew on a button in each corner. See the close-up photo at the bottom of the page. Hot glue your picture to an 8″ x 10″ black board. To do this, place glue only behind each button. That way the glue won’t bleed through the felt. When gluing it down, leave a 1/2″ border across the top.

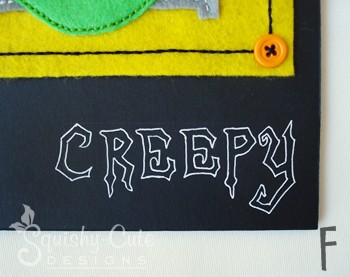
Pick a font or copy the one we used and write the word “Creepy” across the bottom. It might be helpful to lightly write the word in pencil first, and then go over it with the white gel pen. See photo F.
![]()

To hang your picture, hot glue a piece of wire or string to the back.
Your Frankenstein picture is now complete!
![]()
![]()
Return to Free Sewing Patterns from Free Applique Patterns: Frankenstein
Return to Home Page