

How To Do The Fly Stitch
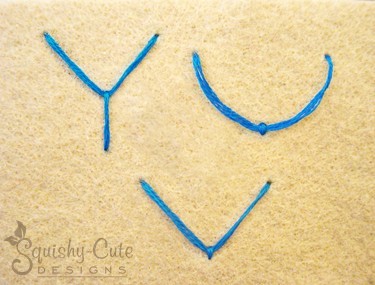
The fly stitch can either be made into a tight “V” or “Y”, or left a little loose and made into a soft scallop “U” shape. It can also vary in width and length (height) depending on the look you want.
![]()
![]()
![]()
![]()

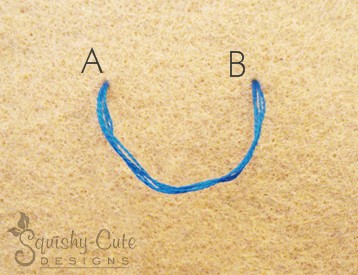
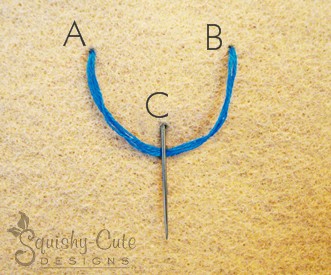
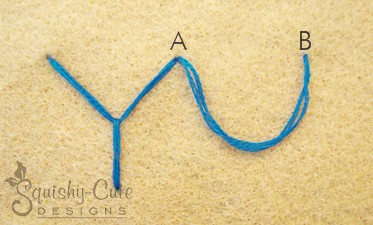
To start the fly stitch, bring your needle up through the fabric at A. Next, determine the desired width of your fly stitch and then send your needle down at B, which should be directly across from A. Do not pull the floss all the way through to the back just yet. Instead, leave it loose with a loop of floss still on top of the fabric.
Now bring the needle up through the fabric at C, making sure it’s evenly centered between A and B, and down enough so that your stitch is the height that you want. As you come up at C, your needle needs to be on the inside of the loop. Pull the floss all the way through, making the loop into a tight “V” shape or into a soft “U” curve, depending on the look that you want.
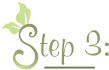
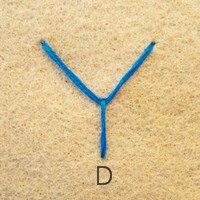
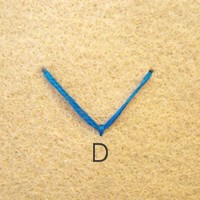
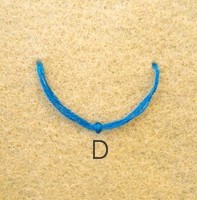
At this point, decide if you want your fly stitch to have a tail, making a “Y” shape, or no tail at all, making a “V” or “U” shape. If you want a tail, send your needle down at D on the outside of the loop, centered below C. However, if you would rather have a “V” or “U” shape with no tail, insert your needle down on the outside of the loop, but directly below C, or even through the same hole as C. Then pull your floss snug, and this completes your first stitch.
![]()
![]()
2 Variations of the Fly Stitch:
![]()
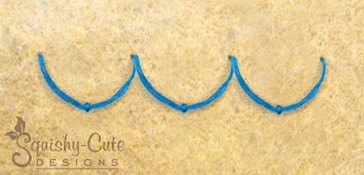
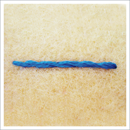
• Horizontal Fly Stitch •
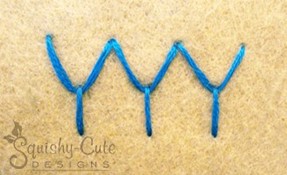
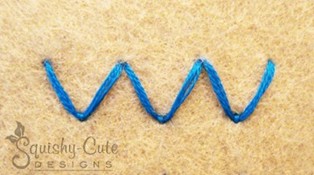
To connect fly stitches horizontally, bring your needle up in the same hole as B from the steps above. Repeat steps 1 through 3, treating B as if it were now A. Continue this process to make a horizontal row of fly stitches.
![]()
This stitch is good for making rows of scallops or scales, outlining something, or adding a decorative border to something. See some examples below.
![]()
![]()
![]()
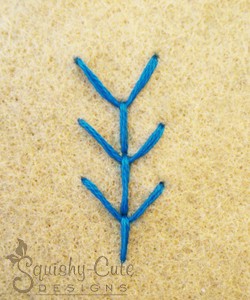
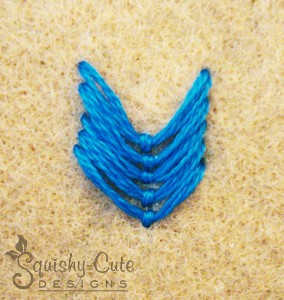
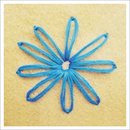
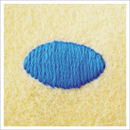
• Vertical Fly Stitch •
To connect fly stitches vertically, bring the needle up at A (straight below the previous A), and go down at B (straight below the previous B). The amount of distance vertically between the previous A and B and the new A and B is completely up to you depending on how you want the stitch to look. Then come up at C as marked in the photo below. This new C location, is exactly where D was in the steps above. Then proceed to go down at a new D, making it the same length as what you did on your first stitch. Continue this process to make a vertical column of fly stitches.

![]()
This stitch is good for making leaf designs such as ferns, using as a decorative border, or even making feather designs. See examples below.
![]()
![]()
You may also like….
French Knot
Stem Stitch
Lazy Daisy
Satin Stitch
![]()
We hope this embroidery tutorial on the fly stitch was helpful for you! We also have several other embroidery stitch tutorials that you might find useful. So if you enjoy hand sewing or needlework, be sure to check them out as well!