

Embossing With Rubber Stamps
Embossing with rubber stamps is quite easy, and gives a very professional look to whatever you may be making. Many of the tools needed are optional and we will go through the various ways you can go about embossing.
![]()
![]()
![]()
![]()
![]()
![]()

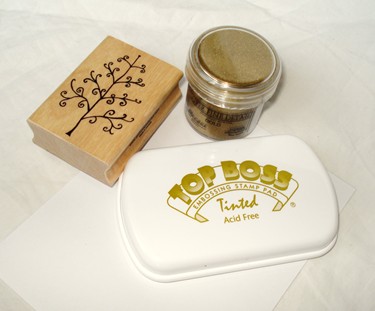
• Desired rubber stamp
• Embossing powder
• Embossing ink or regular ink
• Heating gun (sold in craft stores) or other heat source
• Dryer sheet or other anti-static product
• Paper to work on
![]()


Make sure the paper you will be stamping is clean. Next, apply the anti-static product on the paper. This is an optional step, but it prevents extra powder from clinging to the paper. However, rubbing a dryer sheet or fabric softener sheet on the paper should work pretty well, and usually they are on hand.

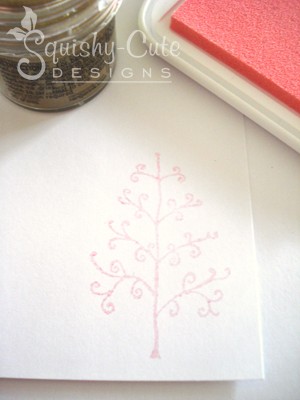
Ink your stamp with the embossing ink. You can use regular stamp ink as well, but embossing ink is designed to stay wet longer so you have time to get the powder on. Embossing ink comes in colors, but also clear or tinted. If using clear or tinted, the stamp will end up whatever color the embossing powder was. In most cases, you won’t see the ink underneath anyway.
![]()
![]()

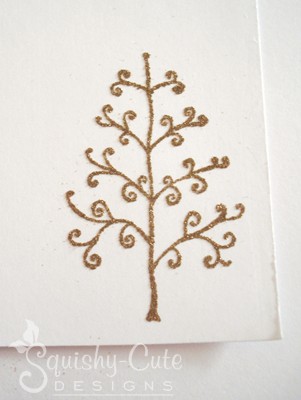
Open the embossing powder and pour it on the stamped image. Be sure to cover the stamped image completely. Have another piece of paper underneath the one you are stamping on to catch the excess powder. Then pour the powder off, and back into the container. You can lightly tap behind the stamped image to get any extra off.
It is important to get any loose, clinging powder off that is not a part of the image because once it has been heated the flecks melt permanently on the paper. Once you think the stamp looks good, you are done with this step.
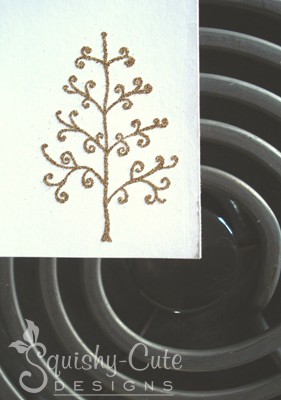

Heating the image can be done in a few ways. The most common heat source when embossing stamps is to use a heating gun. These can be found at most craft stores and are made for this type of project. If using a heating gun, it is held above the image until the powder melts.
Another way of heating is to use a hair dryer. Of course since this blows air, it must be heated from underneath so as to not blow the powder off before it has melted.
A third technique, which we normally use, is to heat the stamp over the stove. When heating this way turn the stove on low heat and hold the paper above the stove. Note: DO NOT SET IT DIRECTLY ON THE STOVE! This could potentially start a fire and is very dangerous. When heating it over the stove, be very careful, and do not get the paper too close. If your stove has a pilot light, DO NOT USE THIS METHOD! It would be very easy for the paper to light on fire. Children will need adult supervision for this step.
With any of these heating techniques, you should see the powder melt. As soon as this happens you can remove the heat source and you are done! Hopefully you’ll now see just how fun and easy embossing stamps can be!
![]()
Return to Free Craft Projects from Embossing With Rubber Stamps
Return to Home Page